Home
Home English
 عربى
عربى Español
 русский
 Français
 中文简体
中文简体Picture this: a building passes its rough-in inspection, the drywall is closed, and the final walkthrough is set for Friday. Then the fire marshal stops at an empty junction box where an exit sign should be. The sign is still in its carton because nobody verified the mounting height. That small oversight can delay a certificate of occupancy and turn a routine job into a costly callback.
Exit sign installation looks simple, but it carries more weight than most fixtures on the project. The sign must stay lit during a power loss, guide occupants to a safe exit, and satisfy the authority having jurisdiction (AHJ). Getting it right the first time means understanding mounting rules, wiring, and testing before you pick up a screwdriver.
Before You Start: Code, Height, and Location
Check the applicable codes before ordering anything. In most jurisdictions, NFPA 101 Life Safety Code and the International Building Code define where exit signs are required and how they must perform. Local amendments can change mounting height, illumination level, and battery runtime, so verify with the AHJ rather than assuming national codes are final.
A commonly cited mounting benchmark is 7 ft (2.1 m) from the finished floor to the bottom of the sign. That keeps the sign above the typical line of sight while still readable over the heads of a crowd. Mounted too high, it disappears in smoke-filled corridors; too low, it risks damage and blocked views.
Also decide the direction the sign must face. In a straight corridor, mount the sign perpendicular to the exit path. At an intersection, a sign with directional arrows tells people which way to go. Walk the egress path and confirm the sign is visible and unambiguous from every point where an occupant might enter the corridor.
Exit Sign Types and Mounting Methods
Exit signs mount in several ways, and each method has a specific best use. Wall mounting is the most common approach for corridors and rooms with a wall at the required height. Ceiling mounting suits open areas and large rooms. Pendant mounting suspends the sign with rods or chains, common in warehouses and retail spaces where signs must clear tall storage racks. Recessed mounting sits flush inside the ceiling for a clean architectural look.
| Mounting Method | Best For | Typical Mounting Height | Wiring Access |
|---|---|---|---|
| Wall | Corridors, rooms, stairwell landings | 7 ft (2.1 m) to sign bottom | Standard junction box behind sign |
| Ceiling | Open areas, lobbies, classrooms | Ceiling height, visible above obstructions | Ceiling junction box |
| Pendant | Warehouses, retail aisles, high ceilings | 8-12 ft (2.4-3.7 m), adjusted for storage clearances | Wire through suspension rod or chain |
| Recessed | Architecturally finished ceilings | Flush with ceiling surface | Fixture housing connects to ceiling box |
Choose a fixture matched to the environment. Standard signs work in dry indoor locations; damp or wet areas require a rated fixture, especially near entrances or in high-humidity spaces. For most commercial projects, a UL-listed LED sign is the practical default: LEDs consume little power, last for years, and reduce battery stress.
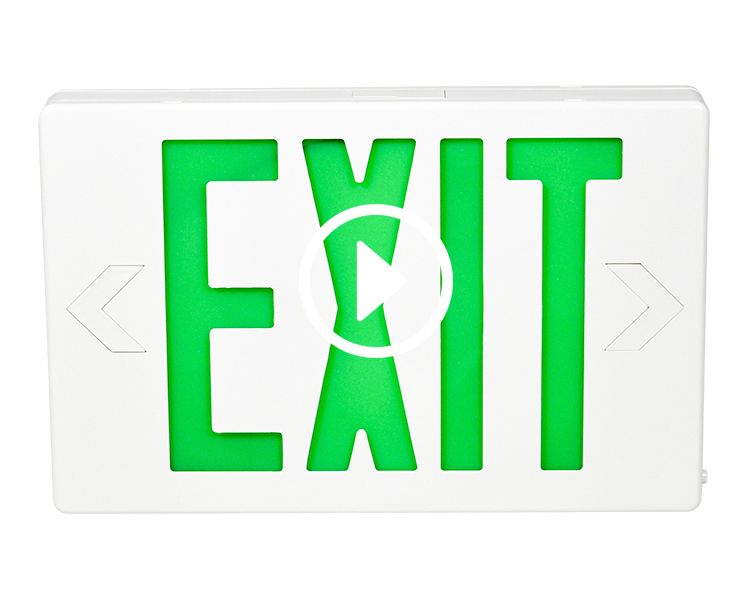 JEE2GWE 6-Inch UL-Approved Green LED Exit SignThis UL-listed green LED exit sign suits dry indoor commercial spaces, offering low power draw and long service life for reliable egress marking.View Product →
Step-by-Step Wall-Mounted Exit Sign Installation
The process for a wall-mounted sign is consistent across most models. Follow the manufacturer's instructions; the general sequence is:
- Turn off the power at the circuit breaker and confirm the circuit is dead with a voltage tester.
- Remove the sign's front faceplate to expose the backplate and the wiring compartment.
- Knock out the mounting holes that align with your junction box screw positions, plus the center hole for the supply wires.
- Feed the supply wires through the center knockout and position the backplate over the junction box.
- Secure the backplate to the box with the screws provided. Do not overtighten; the plate should sit flat against the wall.
- Connect the wires: black to live, white to neutral, and green or bare copper to ground. Use wire nuts rated for the wire gauge and twist until the connection is solid.
- If the sign has a battery backup or an emergency driver, connect the battery leads according to the wiring diagram printed on the fixture.
- Tuck the wires into the box, attach the faceplate, and restore power.
- Press the test button and confirm the sign stays lit when AC power is interrupted.
Do not skip the ground connection. A metal sign that loses its ground path becomes a shock hazard, and most AHJs will flag an ungrounded fixture during inspection.
Ceiling, Pendant, and Recessed Installation
Ceiling mounting follows the same wiring principles as wall mounting: the mounting plate attaches to a ceiling junction box, and the supply wires are connected in the same order. For a pendant mount, the sign hangs below a canopy on threaded rods or chains. Confirm the ceiling box is rated for the fixture weight; a heavy sign on a lightweight drywall box is a structural risk.
For recessed installations, cut the ceiling opening to the template supplied with the housing. The housing must fit snugly so the trim ring sits flush. Pull the supply wires through the knockout, make the connections, then secure the housing to the structure per the manufacturer's instructions.
Wiring the Exit Sign Safely
Wiring mistakes cause more failed inspections than any other part of the job. Most exit signs operate on 120 VAC with a battery backup that keeps the sign lit when the AC source fails. The fixture wiring includes the AC input, the battery connection, and the test switch. If the battery leads are reversed or left disconnected, the sign still works on AC but will not transfer to battery during an outage, and over time it may damage the driver.
Combination units, also called exit signs with emergency heads, provide egress marking and emergency illumination from a single fixture. They are common in corridors where the exit sign location doubles as the best position for emergency lighting. Installation is similar, but the fixture carries additional wiring for the lamp heads and a higher-capacity battery pack.
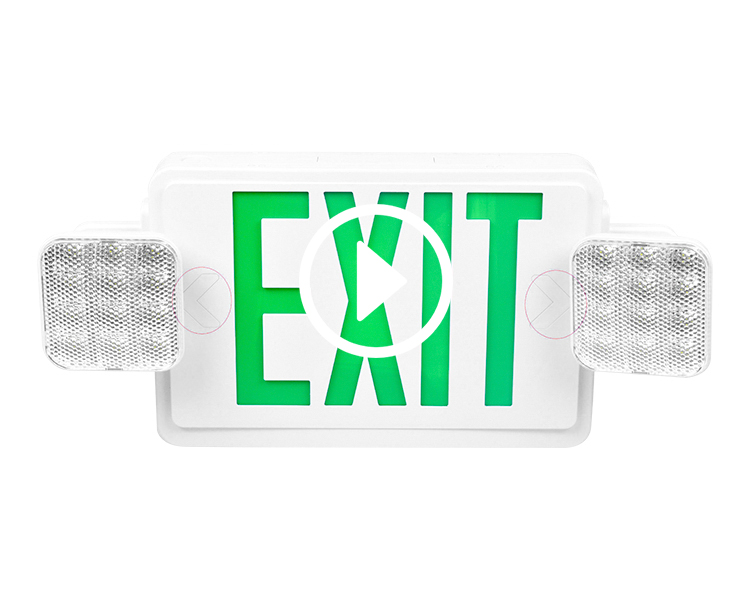 JLEC2GW LED Combo Exit Sign with Emergency LightsA UL-listed dual-function unit that combines an exit sign with emergency light heads, ideal for corridors needing both egress marking and illumination.View Product →
For covered outdoor or damp locations, select a wet-location-rated unit. Whichever unit you choose, confirm it is listed to the standard for your market. Many buyers require UL listing for North American projects; the mark confirms the fixture passed construction, heating, and battery-performance testing. You can verify a model's certification by reviewing a UL compliance certificate from the manufacturer before ordering.
Post-Installation Testing and Maintenance
Once power is restored, test every unit and record the results. NFPA 101 requires exit signs to be illuminated whenever the building is occupied, and battery-powered units need periodic testing. Press the test button monthly and hold it for about 30 seconds to confirm the sign switches to battery power. Once a year, perform a full 90-minute test to prove the battery holds enough charge. Some LED fixtures with self-diagnostics qualify for reduced testing, but the AHJ may still expect a documented record.
Keep the signs clean and unobstructed. Dust on the lens cuts visibility, and a pallet stacked in front of a sign defeats the installation. Log the test dates and keep the record available for the fire marshal. More detail on how these systems are designed and evaluated is available in the knowledge base.
Common Exit Sign Installation Mistakes to Avoid
- Mounting at the wrong height. The 7 ft benchmark applies to the bottom of the sign, not the center; measuring from the wrong point creates visibility problems in crowded corridors.
- Blocking the line of sight with shelving, partitions, or decor installed after the sign was mounted.
- Using the wrong color or pictogram. Some regions require the running man symbol instead of text-only signage, and that distinction matters during final inspection.
- Skipping the battery connection. A sign that works on AC but fails to transfer to battery is a code violation and a life safety risk.
- Overtightening the mounting screws and cracking the backplate, which weakens the enclosure and exposes wiring.
- Failing to ground metal fixtures correctly, creating a potential shock path.
If your project requires the running man pictogram, choose a fixture with the appropriate listings. A UL-listed aluminum running man sign is a dependable choice for new installations and replacements.
 JELRM Aluminum 6-Inch Running Man LED Exit SignA CSA-listed aluminum exit sign featuring the running man pictogram, with LED illumination and battery backup for dependable emergency egress.View Product →
An exit sign is one of the few building components that must perform only during an emergency, and by then it is too late to correct a bad installation. The fixture itself costs little compared with a failed inspection, a delayed occupancy certificate, or liability after an incident. Verify the mounting height, follow the wiring diagram, test every unit, and keep records.
Buyers who specify exit signs across multiple projects find that working with a manufacturer with solid production and certification experience simplifies procurement. A factory with its own injection molding, SMT assembly, and battery manufacturing can deliver consistent quality, and the right certificates save you from chasing documentation after the order arrives. Choose your supplier the way you choose your mounting height: check the details before you commit.


 NINGBO FEITUO ELECTRIC APPLIANCE CO., LTD.
 0086-574-87387582
 Website: www.ifeituo.com
 info@ifeituo.com
 Mob/WeChat/WhatsApp: 0086-135-6655-7272